
Last updated November 21, 2026
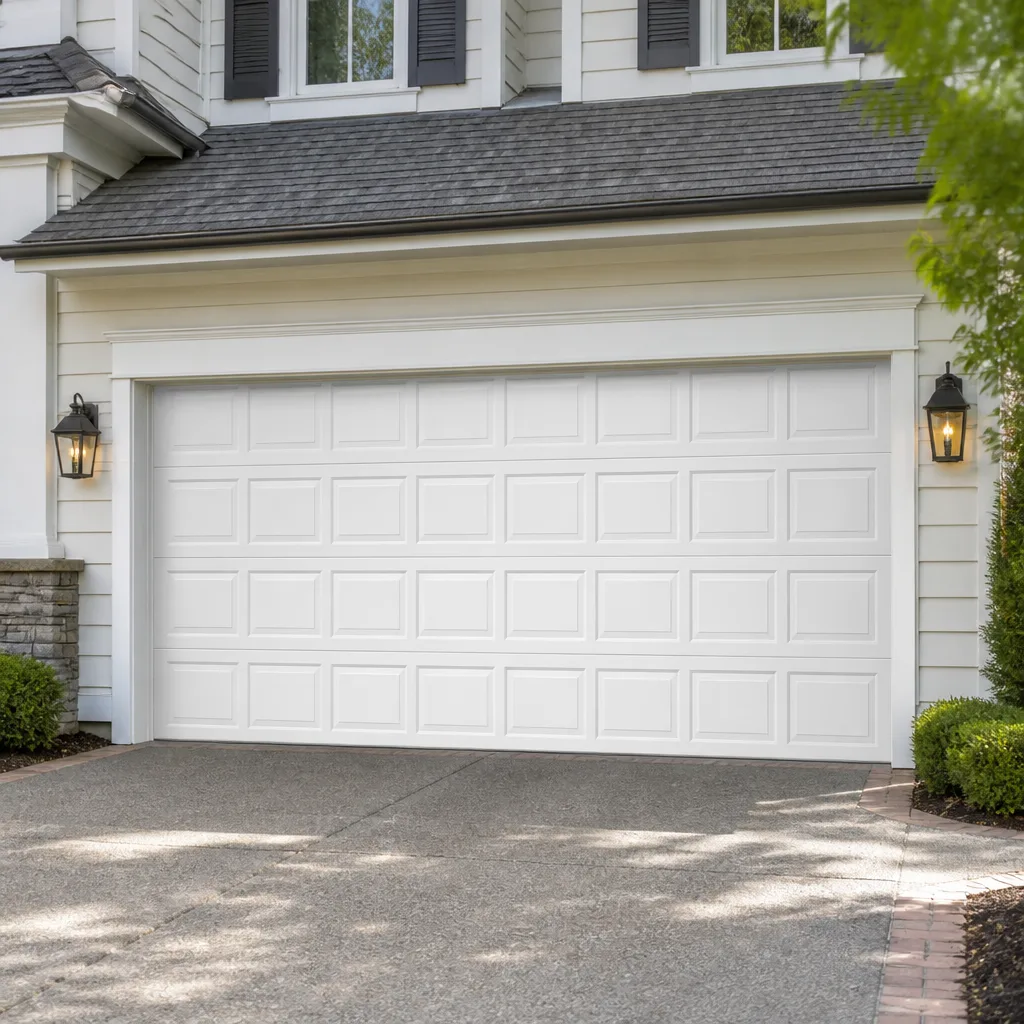 Raised-panel steel
 Carriage house
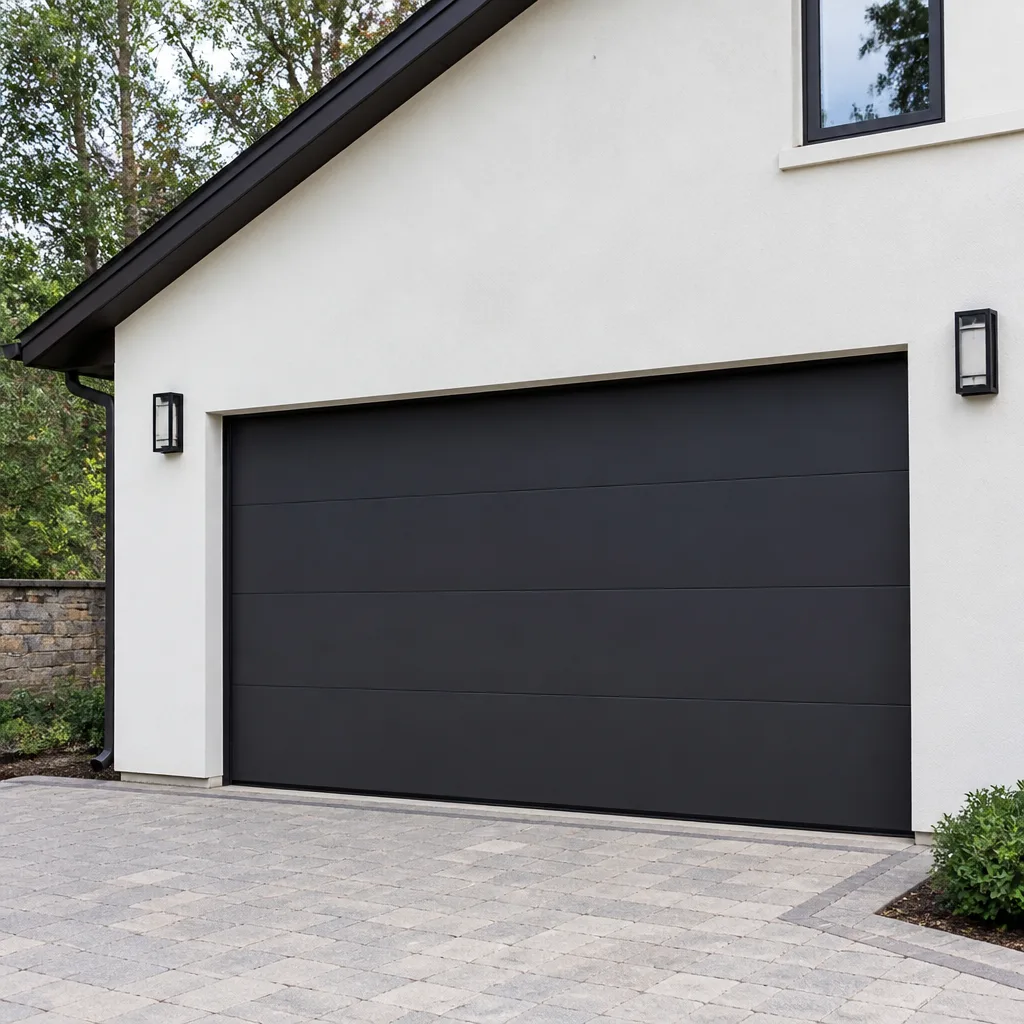 Modern flush
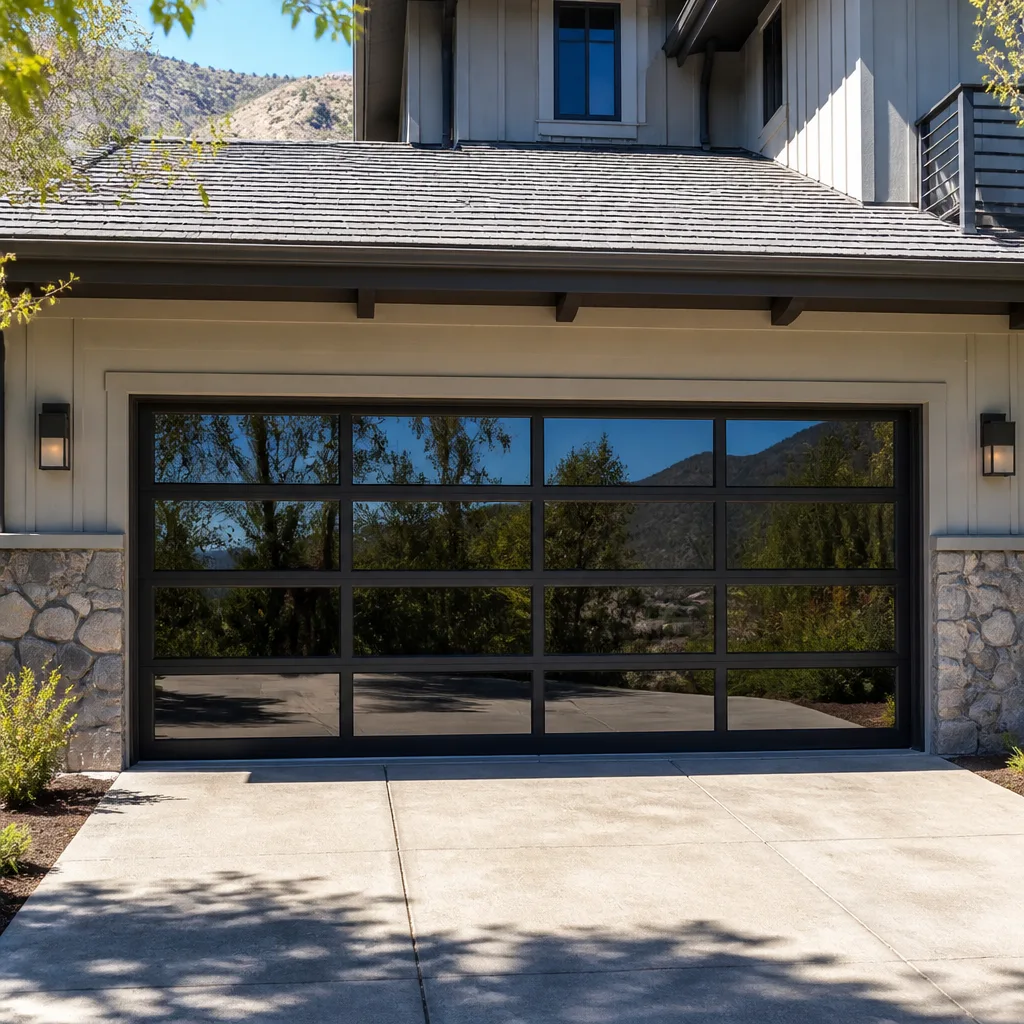 Full-view glass
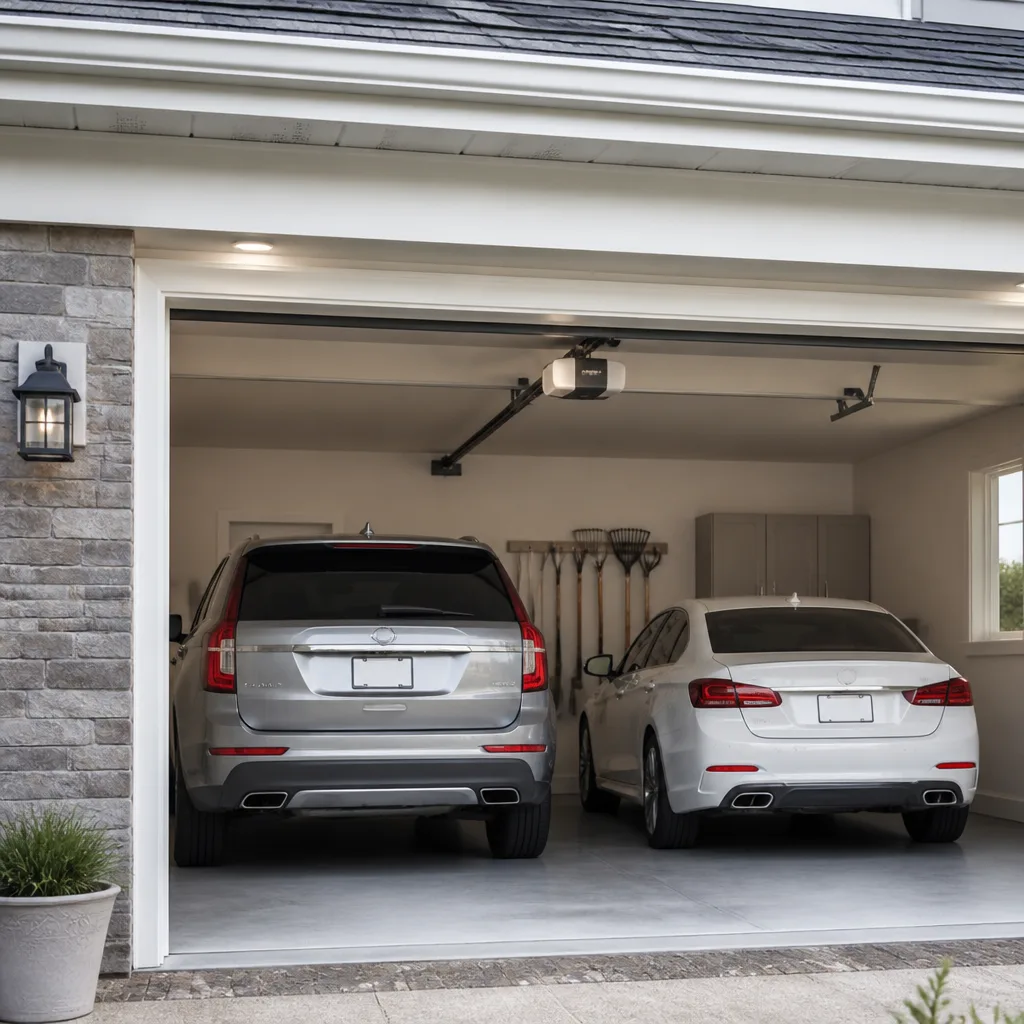 LiftMaster openers
 Chamberlain openers
Full 25-point door and opener safety check with every visit - springs, cables, rollers, tracks, and your LiftMaster or Chamberlain opener included
You get a price before we start. It does not change when the pro arrives.
Get your free estimateGarage Door Repair Maintenance Checklist for Somerton Homeowners
Most garage door checklists floating around the internet tell you to spray lubricant on the tracks. We’re going to start by telling you to stop doing that. Over-lubricating the tracks is the single most common homeowner maintenance mistake we reverse during service calls, and it’s recommended by roughly half the guides ranking on Google right now. Tracks are meant to run dry; grease them and you collect grit, the rollers start dragging, and the opener works harder every cycle. This guide splits maintenance into what you can safely do yourself and what you should never touch, with clear stopping points. If you’re in Somerton, the checklist is built for the weather and housing stock you actually deal with. We work on Garage Door Repair Somerton every week and see the same patterns repeat.
Quick Answer
A safe homeowner maintenance routine covers three things: a monthly visual inspection with a manual balance test, seasonal weather seal checks before freeze-up and after mud season, and an annual lubrication and fastener check on hinges, rollers and springs. Torsion springs, cable drums, bottom brackets and any stored-tension hardware are strictly off-limits – those require a trained technician with proper winding bars. Anything involving a door that won’t lift freely, a snapped spring, or a cable off its drum should trigger a service call, not a DIY attempt. Our technicians have up to 14 years of experience and can walk you through what’s normal for your door.
Styles & brands we work with
- Raised-panel steel
- Carriage house
- Modern flush
- Full-view glass
- LiftMaster openers
- Chamberlain openers
Table of Contents
- How We Organize This Checklist: DIY vs. Do-Not-Touch
- Monthly Tasks You Can Safely Do
- The Manual Balance Test: What to Listen and Look For
- Seasonal Tasks: Northeast PA Winter Prep and Spring Recovery
- Annual Tasks Worth Doing Every Year
- Do-Not-Touch Line Items and Why
- Documenting Door Condition Over Time
- When to Call a Professional
How We Organize This Checklist: DIY vs. Do-Not-Touch
The reason most checklists fail isn’t that the tasks are wrong. It’s that they lump every task together as though a homeowner with a can of WD-40 and a torsion spring have anything in common. They don’t. A garage door is a counterweight system, and the counterweight is under load every single second the door is closed. That’s why we split maintenance into three tiers.
The first tier is homeowner-safe: things that need eyes or a rag and no tools beyond a screwdriver. The second tier is homeowner-safe but tool-dependent: lubricating hinges and rollers, tightening a handle bracket, replacing a weather seal. The third tier is do-not-touch: torsion springs, extension springs under tension, cable drums, bottom brackets, and the center bearing plate.
Here in Somerton, we see a lot of single-car garages attached to homes from the 1950s and 1960s alongside newer builds with two-car doors on LiftMaster and Chamberlain openers. The older stock has more extension spring systems; the newer builds almost always run torsion. Neither is more dangerous in itself, but both punish an owner who tries to adjust tension without training. The stopping point is simple: if a task requires loosening, tightening or repositioning any component holding spring tension, it belongs to a technician.
What you get out of the first two tiers is real. Catching a frayed cable, a mistracking roller or a seal that’s pulling away gives you weeks of warning before a failure. That warning window is the whole point of maintenance, and it’s why we organized the rest of this guide the way we did.
Monthly Tasks You Can Safely Do
A monthly pass takes about ten minutes and covers the moving parts that tell you something is drifting out of adjustment. Do these in order, with the door closed at the start. If the door hesitates, grinds or reverses mid-travel, stop and note it.
- Visual sweep of cables and springs. Look for fraying, kinks, or a cable sitting loosely or off-line on its drum. You’re not adjusting anything – just looking. A cable that looks slack or has a visible fray is a call-us-now condition.
- Check the rollers in the tracks. Open the door and look at each roller. Plastic rollers get flat spots; steel rollers wear into a roughly square shape and start rattling. Anything visibly out of round needs replacement before it damages the track.
- Wipe the tracks clean with a dry rag. No lubricant. Lift removes grit with a dry cloth; grease traps it. If a track looks bent or the door rubs on one side as it travels, that’s a professional adjustment.
- Test the safety reverse. Put a roll of paper towels or a 2×4 flat on the floor in the door’s path and press the close button. The door should reverse on contact. A door that doesn’t reverse is a serious safety failure – call us.
- Test the photo-eye sensors. Wave a hand or a piece of cardboard through the beam while the door is closing. It should reverse. Wipe the lenses if the door refuses to close at all – a dirty sensor is one of the most common “broken door” calls we get in Somerton.
- Listen. Stand in the garage while the door cycles. Rattle, squeal, or a rhythmic thump each cycle is a symptom, not just noise.
If your opener is a LiftMaster or a Genie and the wall button works but the remotes don’t, the door itself is fine and the issue is in the opener logic or the remote battery – a separate diagnostic from the mechanical checklist.
The Manual Balance Test: What to Listen and Look For
The standard advice is “pull the release cord and see if the door stays put.” That’s the first half of the test. The second half – what you listen for and look at while you’re doing it – is where most homeowners miss the early warning. Here’s the full version.
Pull the emergency release cord with the door closed, then lift the door by hand to about halfway. Let go. A properly balanced door should sit at the halfway point or drift only slightly. What matters beyond that:
- Effort. You should be able to lift it with two fingers. If it feels heavy or stubborn, the springs have lost tension – they weaken gradually over years, not just suddenly.
- The sound. Listen for a creak from the hinges or a grinding from the track. A single loud pop is a spring letting go; a repeating scrape is a roller dragging.
- The drift direction. If the door drifts upward on its own, the spring has too much tension. If it drops, too little. Either way, that’s a technician adjustment, not a homeowner fix.
- The feel. As you lift, run a hand lightly along the edge – a door traveling unevenly on one side, or one that binds mid-travel, points to a cable or track issue.
When you’re done, reconnect the door and run it once to confirm the opener re-engages. If the door feels heavy during the test, stop lifting it. A heavy door with weak springs puts the full weight on the operator arm and cable, and that’s how cable failures happen. If you’re not comfortable lifting the door, skip the test entirely – a technician can measure spring tension directly without the manual test.
Seasonal Tasks: Northeast PA Winter Prep and Spring Recovery
Somerton sits in a climate that flips between hard freezes, freeze-thaw cycles and wet springs, and that’s exactly what beats up weather seals and hardware. Two seasonal passes a year cover it: one in late fall and one in early spring.
Late fall. The bottom weather seal is the first line of defense against a freezing wind and water. Run a hand along the bottom edge with the door closed. What failure looks like:
- The rubber or vinyl seal is stiff, cracked or compressed flat so light shows under the door.
- The aluminum retainer that holds the seal has pulled screws or separated from the door panel.
- The seal sits unevenly against the concrete – a gap at one end or in the middle that will let in wind, water and cold air, and often a small snow drift pushed in by wind.
A seal that fails before the first hard freeze is a simple replacement. A seal that fails during a freeze lets water in at the threshold, and then you’re dealing with a frozen-then-swelled door and a blown seal mid-winter. Replace it in October, not February.
Early spring. Check the same seal for tears from frozen-in debris, and check the door’s hinges for rust bloom – the freeze-thaw cycle promotes condensation on cold steel. Wipe rust spots and re-lubricate with a silicone-based spray (not grease) on hinges and rollers. Check the garage floor for water intrusion under the door after a heavy rain, which is a seal or threshold problem, not a door-panel problem. The spring timing matters: a door that worked in November and suddenly binds in March usually has a track or seal issue, not a spring failure. Check seals and tracks before you assume the worst.
Annual Tasks Worth Doing Every Year
Once a year, go deeper than the monthly route. This is the pass where you catch the slow wear a monthly check misses. Do it on a dry fall day with good light.
- Lubricate hinges, rollers and the spring coil surface. Use a silicone or lithium-based spray, not grease, and not on the tracks. Two light passes, wipe the excess.
- Tighten visible fasteners. Check the hinge screws, the roller brackets, the handle and any strut bolts. Don’t over-tighten; if a screw spins freely, the hole is stripped – note it and call a technician before the bracket lets go.
- Inspect the opener drive. A belt-drive opener (common on newer LiftMaster and Chamberlain installs) will fray at the belt if the tension has drifted. A chain-drive (often Genie and legacy Craftsman) will sag if the chain is loose. Both are a professional adjustment unless you have the manual and the right tools.
- Clean and re-seat the opener housing. Wipe the housing, and check the manual release cord hasn’t been pulled to the point of binding (happens more than you’d think after a power outage).
- Inspect the door panels for moisture or bowing. Wood doors on older Somerton homes can absorb moisture. Look for peeling paint, bowing, or a soft spot near the bottom.
- Run the door through 3-4 full cycles and observe. Sound, speed and smoothness all tell you something. A door that’s been quiet all year and suddenly sounds different is your cue to look closer.
If your opener is ten or more years old and still running, the annual pass is the time to consider whether it’s time to upgrade the smart-home side of it. An annual pass on older Raynor openers often uncovers a remote or wall-button issue worth fixing now rather than after a failure.
Do-Not-Touch Line Items and Why
Every list of “do this yourself” needs a matching list of “never do this yourself.” Here’s ours, with the reason for each. Print it and stick it on the inside of the garage door frame.
- Torsion springs. A torsion spring holds the full weight of the door and is under active tension every second it’s on the shaft. Releasing or winding one without proper winding bars and training is how people lose fingers; it’s not a risk that scales with how careful you are. It’s an off-limits component, full stop.
- Extension springs. Older doors often use extension springs that tension along the track overhead. The same rule applies – any spring under tension belongs to a trained technician.
- Cable drums and the cables themselves. The cable is under high tension and can snap back with force if released. A frayed or slack cable is a call-us-now item, not a tighten-it-yourself item.
- Bottom brackets. The bracket holding the cable at the bottom of the door is under load from the entire counterweight system. Loosening the bolts there is where injuries happen on this side of the door.
- Center bearing plate and shaft adjustments. Anything that involves moving the shaft the springs are mounted on. Off-limits.
- Track realignment with force. If a track is bent, the safe move is to a technician. If you can nudge a track back with your hands and it looks bent beyond that, stop.
The reason we’re blunt about this: on this trade, the springs are the one component where a mistake has lasting consequences, and no amount of YouTube confidence changes the physics. A trained technician can do a spring job quickly and safely with the right bars and the right procedure. That’s the whole of it.
Documenting Door Condition Over Time
This is the step almost every checklist skips, and it’s the one that turns maintenance into information. A technician can tell a lot from a single inspection, but they can tell far more from a short log you’ve kept. It’s how you turn “the door sounds different” into a trend a technician can diagnose on the first visit rather than a second service call.
Keep a single sheet taped to the inside of the garage door frame, or a photo folder on your phone. Record:
- Date and reading for each annual pass. Note the color of the cables (shiny vs. dull), any visible rust on hinges, and the seal condition as a short phrase (“seal flat,” “seal fine,” “small gap left corner”).
- Photos of the spring coil and the bottom seal each season. A photo from October and one from April side by side shows a sealing failure faster than a visual check in a dim garage.
- Sound notes. “Rattles at halfway” is a specific clue. “Weird noise” is not. Note what part of the cycle the sound happens in.
- Any new behavior after weather events. The morning after a hard freeze or a big rain is when a lot of Somerton doors start binding. Note the date.
- Brand and model of the door and opener. If you have a LiftMaster opener, note the model on the housing label; same for the door brand if it’s stamped on the panel. When a technician arrives, the brand and model shortcut the diagnosis instead of an on-site investigation.
When you call, hand the technician the sheet. Something that looks like a single failure often turns out to be a trend they can address at the root.
Common Mistakes to Avoid
- Lubricating the tracks. This is the mistake we reverse most often. Tracks are meant to run dry; grease collects grit and drags the rollers. Wipe them clean instead.
- Ignoring a small seal gap until winter. In Somerton’s freeze-thaw climate, a small seal gap lets water in at the threshold, and a hard freeze turns that into a stuck door. Replace the seal in fall, not after the first storm.
- Forcing a heavy door after a spring snaps. If the door feels suddenly heavy, do not keep operating the opener – it’s putting the full load on the operator and cable. Stop and call.
- Skipping the manual release test after a power outage. The release cord often doesn’t re-seat fully; the door runs but the opener is fighting a partially disengaged arm. Test the re-engage on the next cycle.
- Tightening a hinge bolt without checking the bracket. If the hole is stripped, tightening makes a future failure. Note it and let a technician re-seat the bracket.
- Replacing a sensor lens with a dirty rag and calling it fixed. A sensor that’s out of alignment still reads “clean.” Test with the door in motion, not just at rest.
- Treating an opener issue as a door issue. If the door lifts fine by hand but the opener won’t lift it, the problem is in the opener, not the spring. If you have a LiftMaster, Chamberlain or Genie unit, the brand and model matter for diagnosis – the wrong part is a wasted trip.
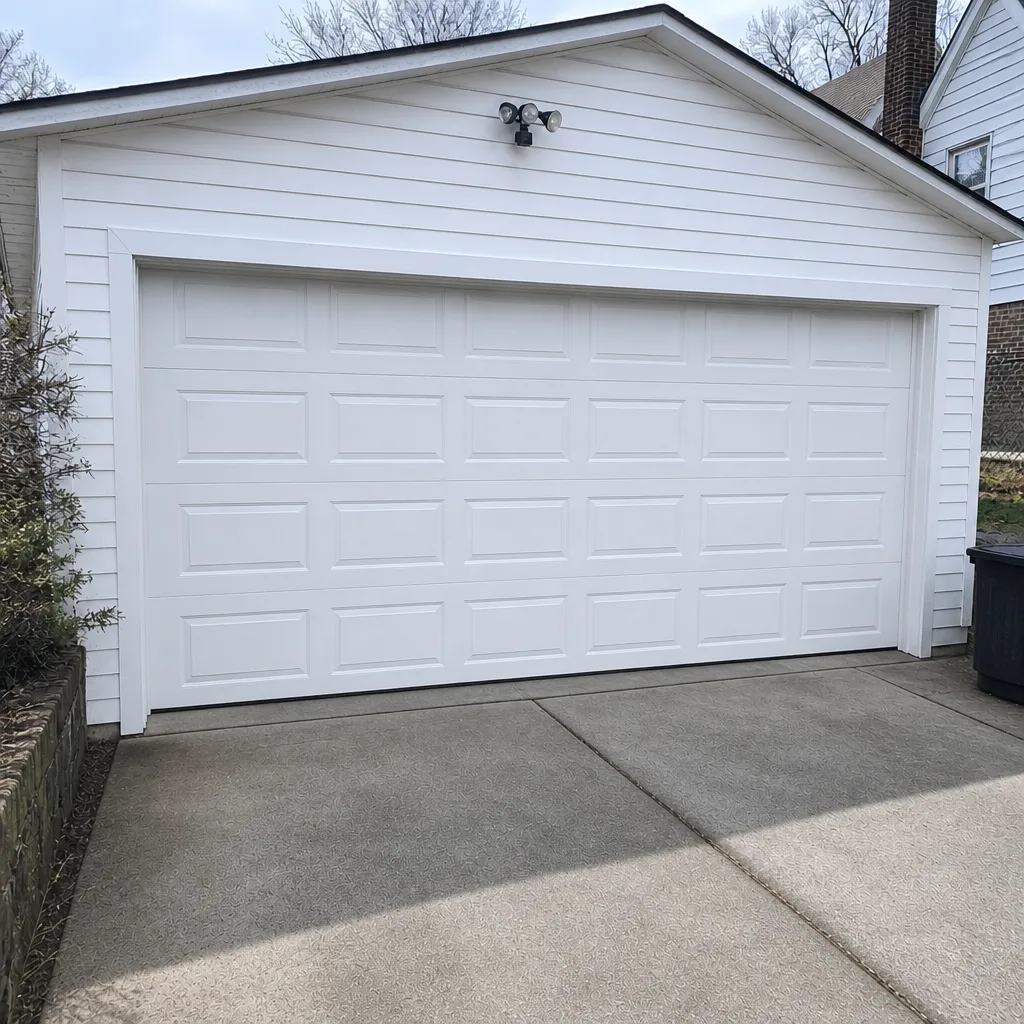
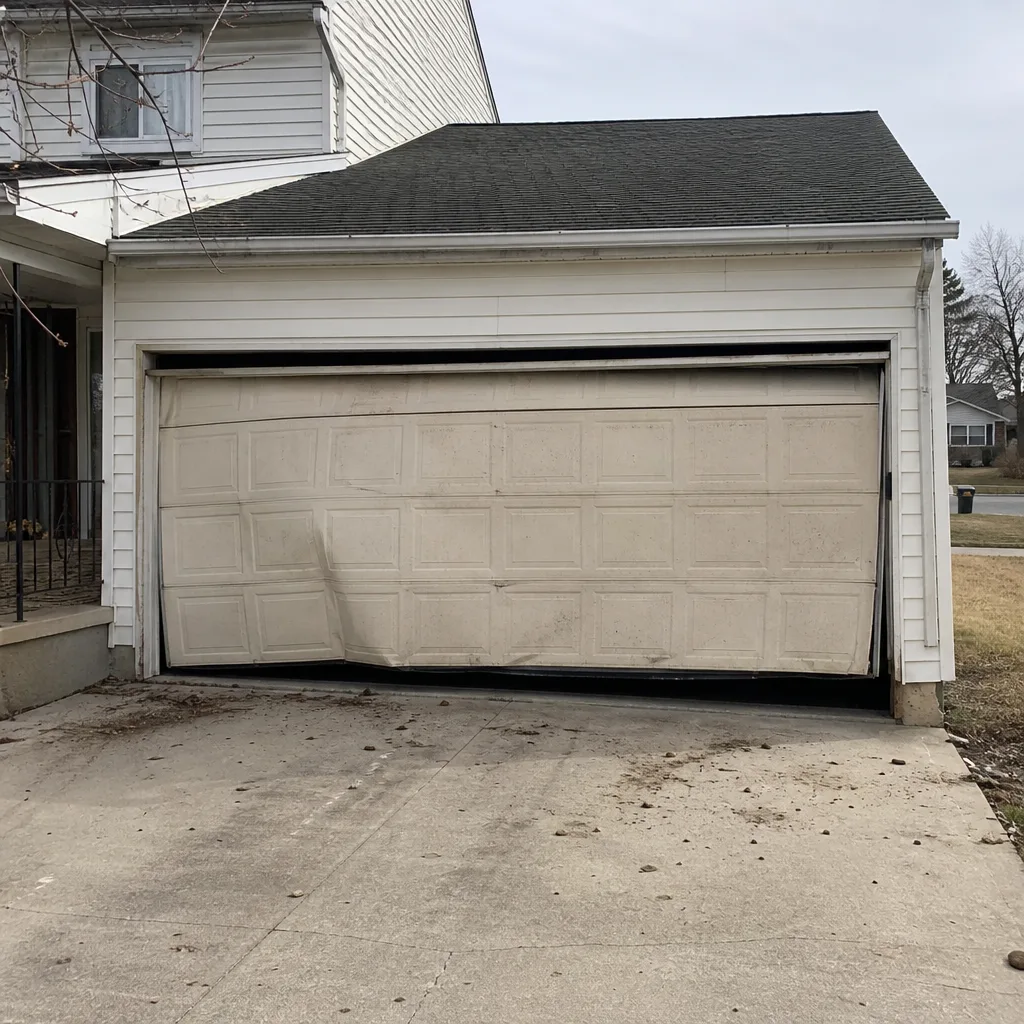
See the difference
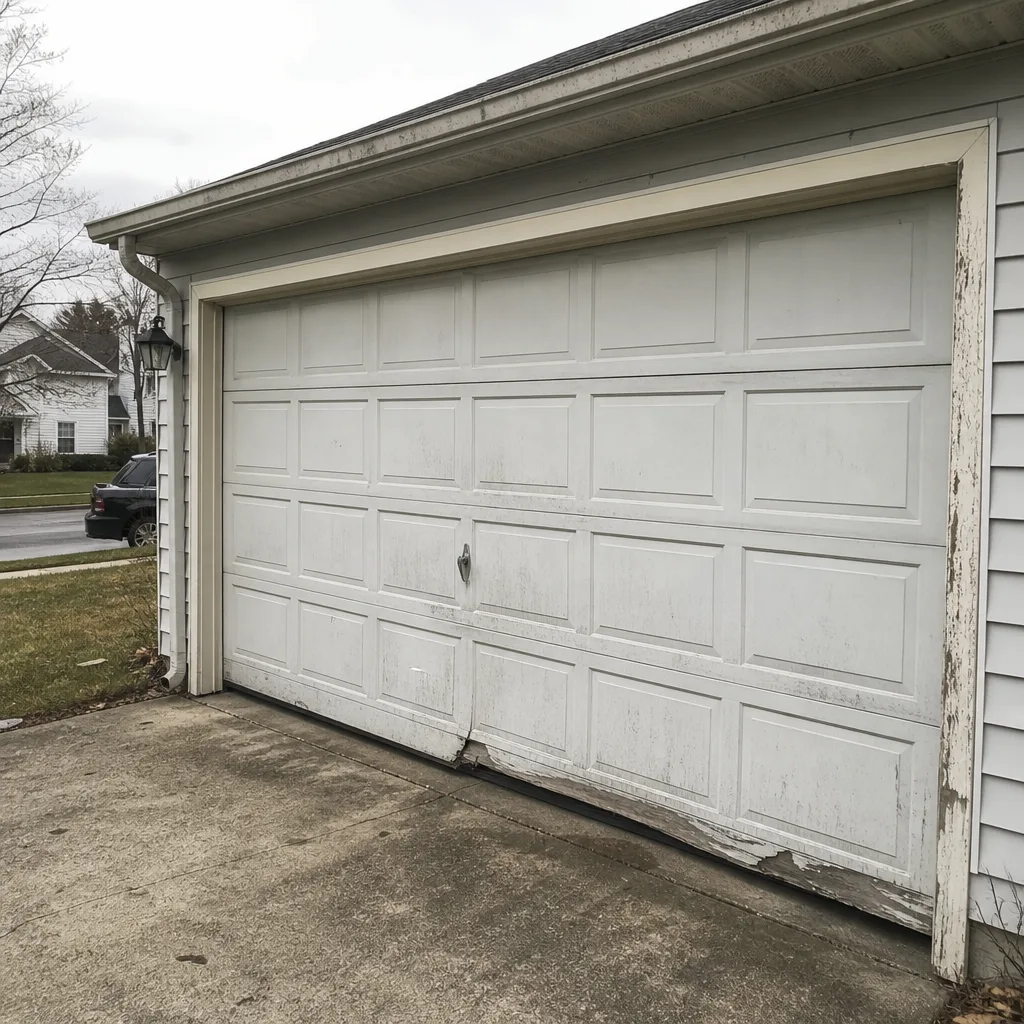 Before
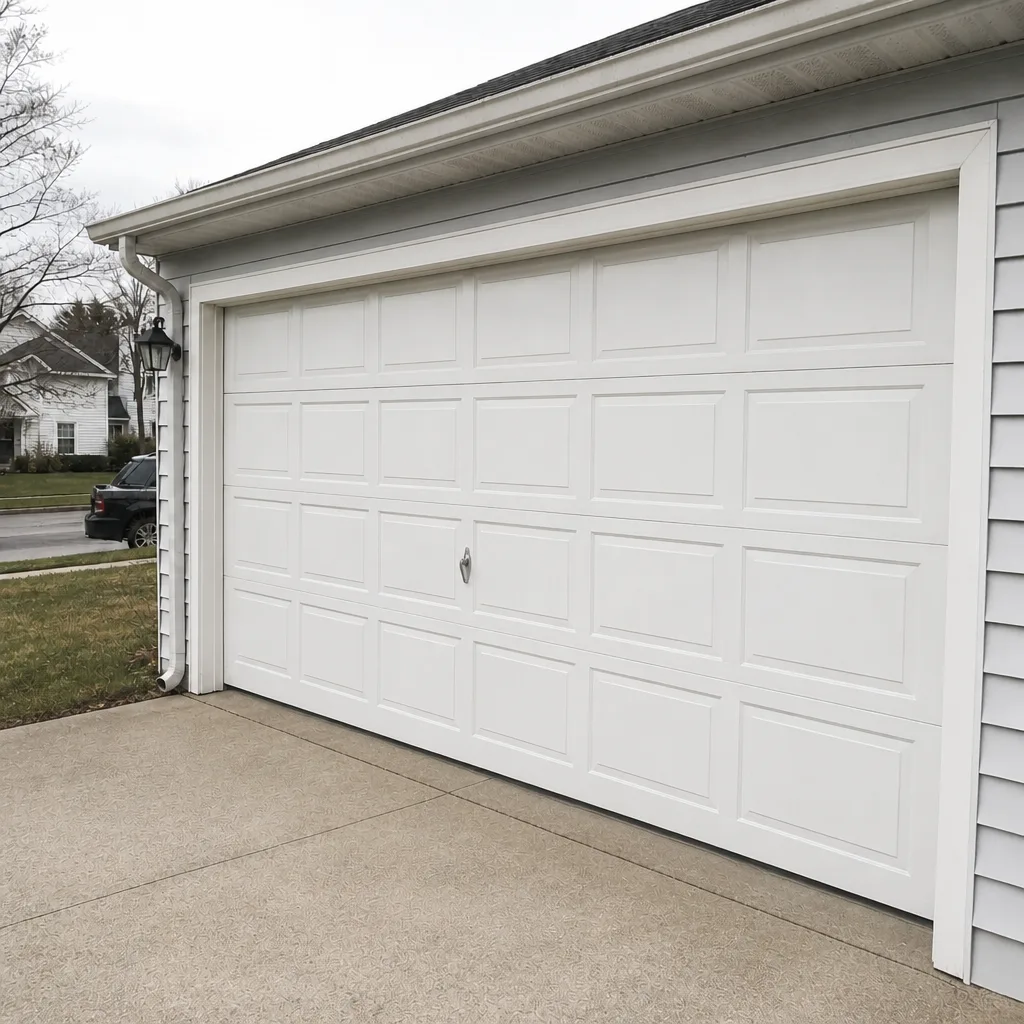 After
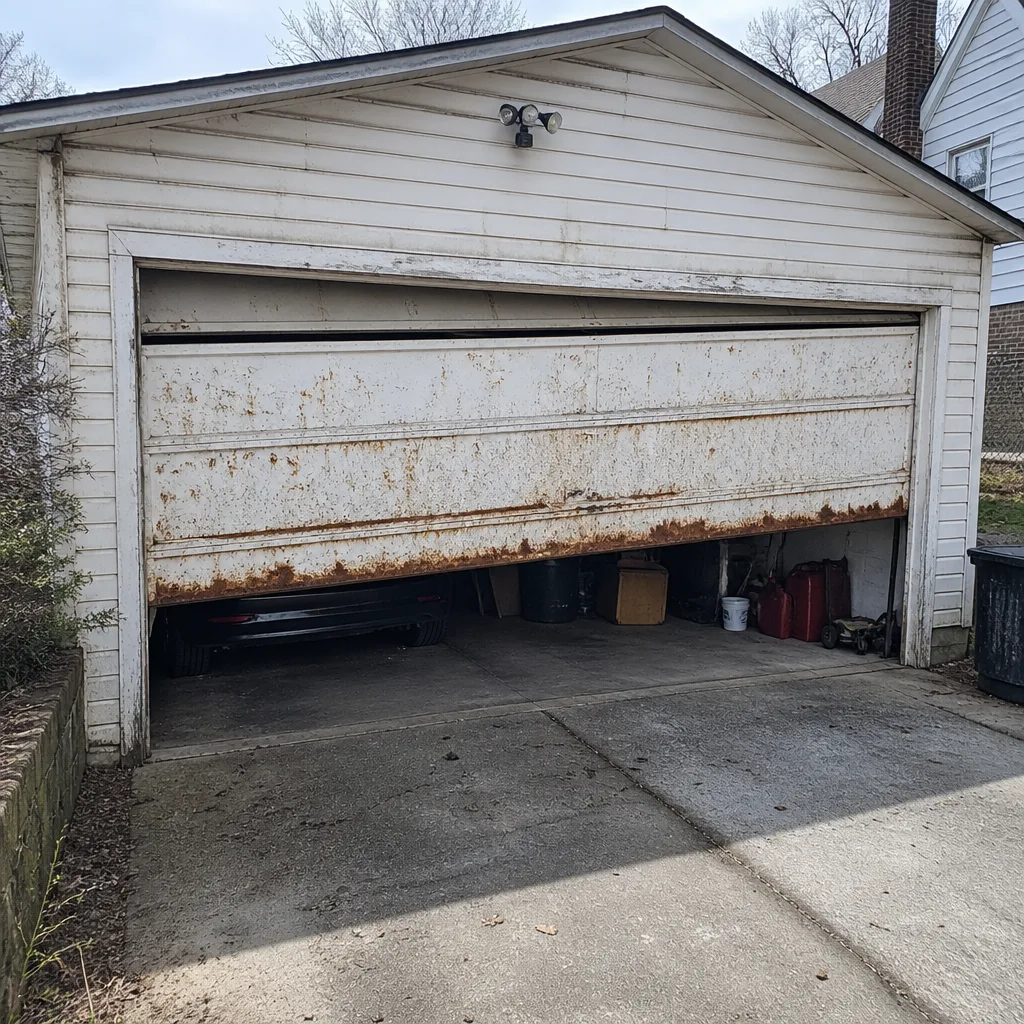 Before
 After
 Before
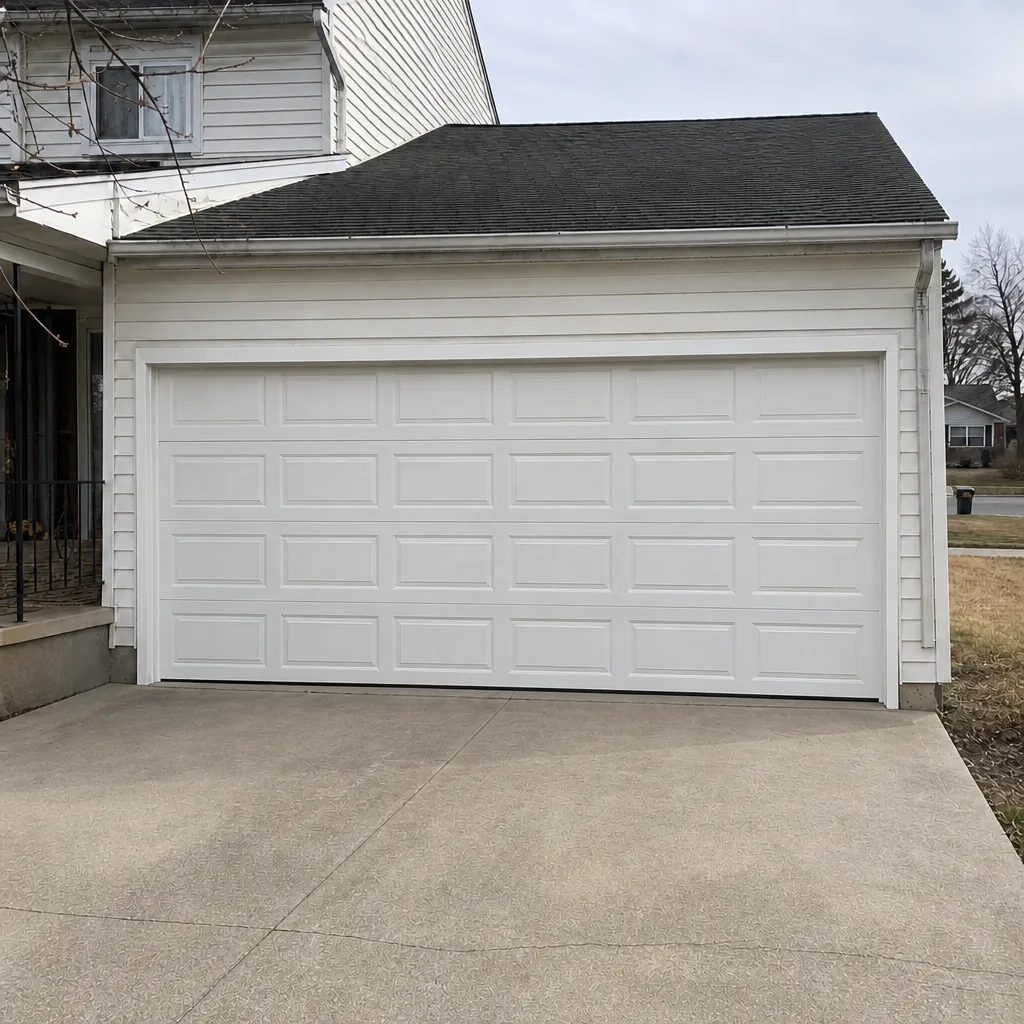 After
When to Call a Professional
Call us when any of these happen: a spring snaps or a door feels suddenly heavy; a cable is frayed, slack or off its drum; the door binds, scrapes or reverses mid-travel; the opener strains or the door slams shut; a seal failure exposes a gap before winter; or you simply don’t want to lift the door for a manual test. Garage Door Repair Somerton offers free estimates in Somerton – call (844) 992-2726. We answer 24/7, with fast dispatch from 7am to 7pm, Sunday through Friday. Our technicians service LiftMaster, Chamberlain, Genie, Clopay, Amarr, Wayne Dalton, Craftsman and Raynor equipment, and the price is quoted and agreed before any work starts.
Frequently Asked Questions
Homeowner maintenance like a seal replacement or lubrication pass is something you can handle yourself at low cost, while a professional inspection and adjustment is quoted per job by the written estimate. The free estimate sets the final price before work begins. Call (844) 992-2726 for an exact quote.
No – tracks should stay dry. Wipe them with a dry cloth instead of lubricating them, because grease collects grit and drags the rollers. Lubricant belongs on hinges, rollers and the spring coil surface, not the tracks.
Test once a month with the door closed and the release cord pulled, and re-check it after any hard freeze. A door that drifts or feels heavy on the test is a technician adjustment, not a homeowner fix.
Check the photo-eye sensors first – a dirty or misaligned sensor is the most common reason a door refuses to close. Wipe the lenses and re-test; if it still won’t close, the issue is in the opener or the safety circuit and needs a technician. Call (844) 992-2726 for help.
No – replace the seal when it’s cracked, compressed flat, or pulling away from the retainer, which in Somerton usually happens before the first hard freeze. Inspect it in fall and spring and replace as soon as it fails.
If the door lifts freely by hand but the opener won’t lift it, the fault is in the opener, not the door. Note the brand and model – LiftMaster, Chamberlain, Genie and Craftsman units each diagnose differently – and call (844) 992-2726.
When a spring job or opener repair turns into a full replacement, we cover that side of the work too. You can learn more about garage door repair and garage door opener repair for the diagnostic side, or garage door installation if the door has reached the end of its life.
The Bottom Line
Maintenance is a three-tier job: monthly visual checks with the balance test, seasonal seal passes that match Somerton’s freeze-thaw cycle, and an annual lubrication and hardware check. Everything holding spring tension – torsion springs, extension springs, cable drums, bottom brackets – stays off-limits, and that rule doesn’t bend for confidence or a YouTube tutorial. Keep a short log of what you see and when, because trend data turns a vague “it sounds weird” into a diagnosis a technician can make on the first visit. Handle the safe tasks yourself, know where the stopping point is, and call in a specialist for the rest. Our technicians have up to 14 years of experience and service all eight major door and opener brands.
Call (844) 992-2726 for a free estimate. We answer 24/7, with fast dispatch from 7am to 7pm, Sunday through Friday. The price is quoted and agreed before any work starts.
Written by the team at Garage Door Repair Somerton.